The interior is almost finished, after weeks of work and improvisation.
One of the major challenges to renovating an all metal trailer is how to hold things in place. I have been hesitant to drill many holes in the 65-year old, still water tight, aluminum skin. So most of my improvements are either attached to the angle-iron frame, or to the skin itself.
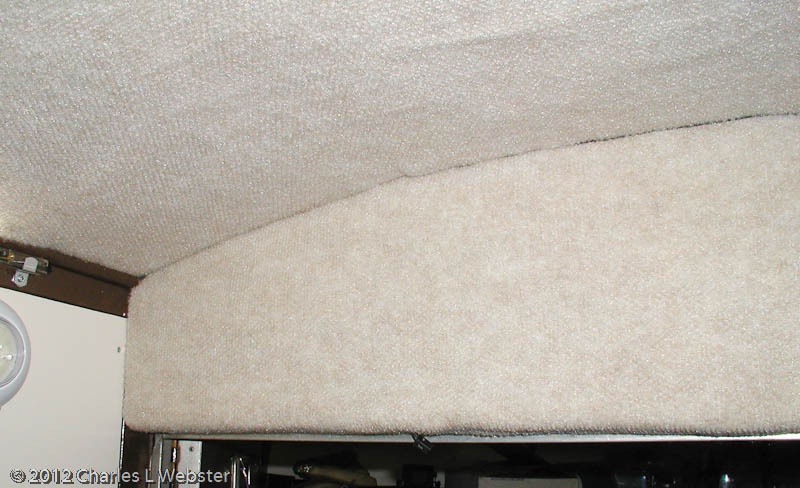
After struggling to design a hull liner covered, masonite box to cover the fan and wiring harness above the door, I decided to make it of foam. I had some large blocks of foam that had been packing material for some bookcases I built recently, so using my trusty filleting knife, I carved four pieces to fill the space around the fan and jammed them in place. Tight friction fit. But not quite rigid enough for my purposes. A bit of hot glue solved that, turning my 4 pieces into one relatively rigid block with a fan-sized hole in the middle.
I decided to take a chance and see if I could hold the hull liner in place without glue, using only strips of hook velcro glued to the foam block. It works so well that attempting to peel the fabric off the velcro threatens to pull the velcro free of the foam. Since the box covers the fan and has to come off only to service/replace the fan (it’s a cheap computer fan) or to access the galley wiring harness, I think I’m OK with having to be extra careful.
Here’s the finished fan box.
The thing hanging out at the center of the doorway is the fan speed switch. I installed a fan speed controller, but the switch is much more convenient and the low-medium-high speeds seem to cover my needs. The switch is hardwired to the fan motor and so I just poked it through a hole in the fabric and let it be.
I haven’t cut screen fabric into the hull liner yet either. I’m going to use the trailer for a while and then decide if the air flow through the hull liner is adequate ventilation, or not.
The other challenge overcome this week was to attach hull liner fabric to the front of the cabin storage lockers. After tossing around a bunch of ideas, I decided to glue (the old hot glue gun again) the hull liner to a masonite panel, and attach that to the front of the lockers with machine screws.
My saber saw presents its own set of challenges due to the way the blade is attached to the shaft. Normally that’s done with a hex socket cap screw that requires an allen wrench to tighten/loosen. Well some well intentioned fool figured out a “keyless chuck” for a saber saw. Suffice it to say that it is impossible to get and keep the blade straight in the saw on my example. That makes cutting holes in masonite panels frustrating at best.
And the panel to mount on the front of the storage locker requires no fewer than 10 holes! The two lockers each have four sets of louvers on the front. I don’t know why, perhaps the makers had just bought the louvering tool and needed places to use it… In order to get the panel to mount flat against the locker front, I had to provide relief holes in the masonite for the louvers. I put in a full day’s work before I had finished cutting and fitting the masonite panel.
The next day was dedicated to cutting and applying the fabric. I measured the panel, and went into the workroom and measured a piece of fabric to the same dimensions. When I brought the panel in to the workroom to glue it up, I realized that the fabric was 1/2″ too narrow ;( Cutting fabric to measure, especially stretchy non-woven hull liner, has never been one of my talents. So I cut a piece of fabric with the panel laying on top of it so I couldn’t go wrong.
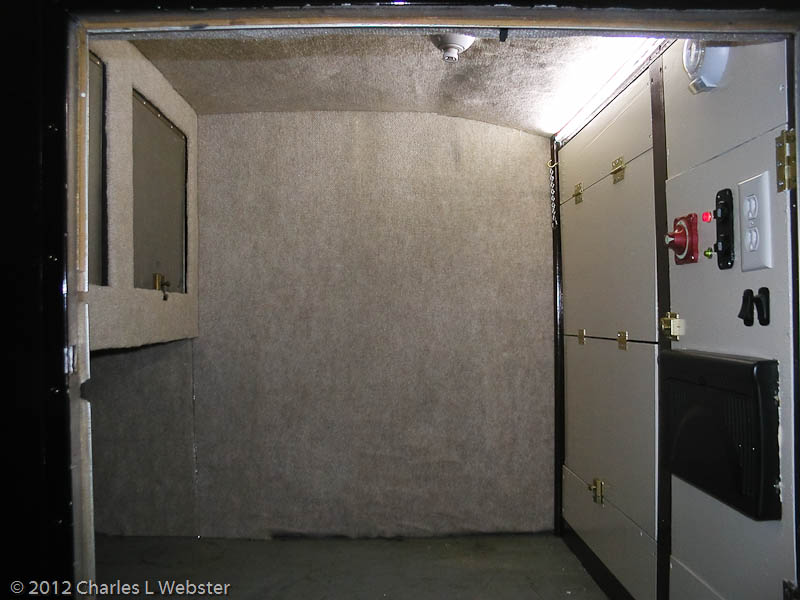
Here’s the results, with the panel held in by friction.
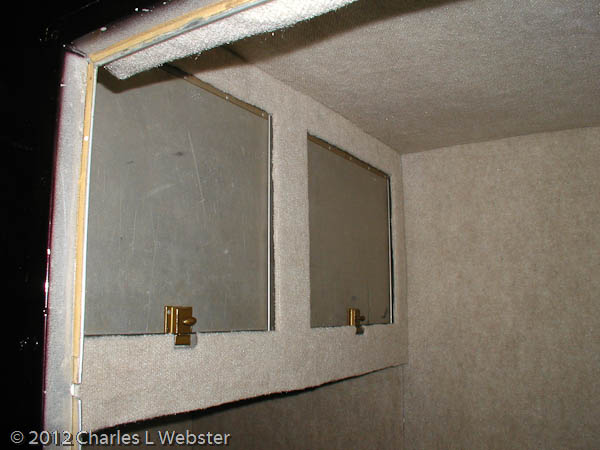
It’s actually starting to be pretty civilized in the teardrop, especially when compared to how primitive it was when I first got it. Gone are the exposed ribs, aluminum skin, sharp corners…. Now it more resembles a padded cell ;-)
The only real work remaining it to glue styrofoam panels to the skin inside the storage lockers. Not a difficult task, but uncomfortable working conditions because of the position and the fact that the locker doors are rather small. And it requires a warm day for the glue to work, and it looks like we’re not getting any more of those this week.


